
Window vinyl graphics offer an attractive and affordable way to dress up the exterior or interior of your business. Vinyl decals add a pop of color and personality, and when used over multiple windows they can have a big impact. Creating large window graphics can be a bit tricky if your windows are separated by mullion trim – but it’s not impossible! Here are some tips on how to set up your artwork files for prints that cover multiple windows with mullion trim separating them.

What are Window Mullions and Why Do They Matter?
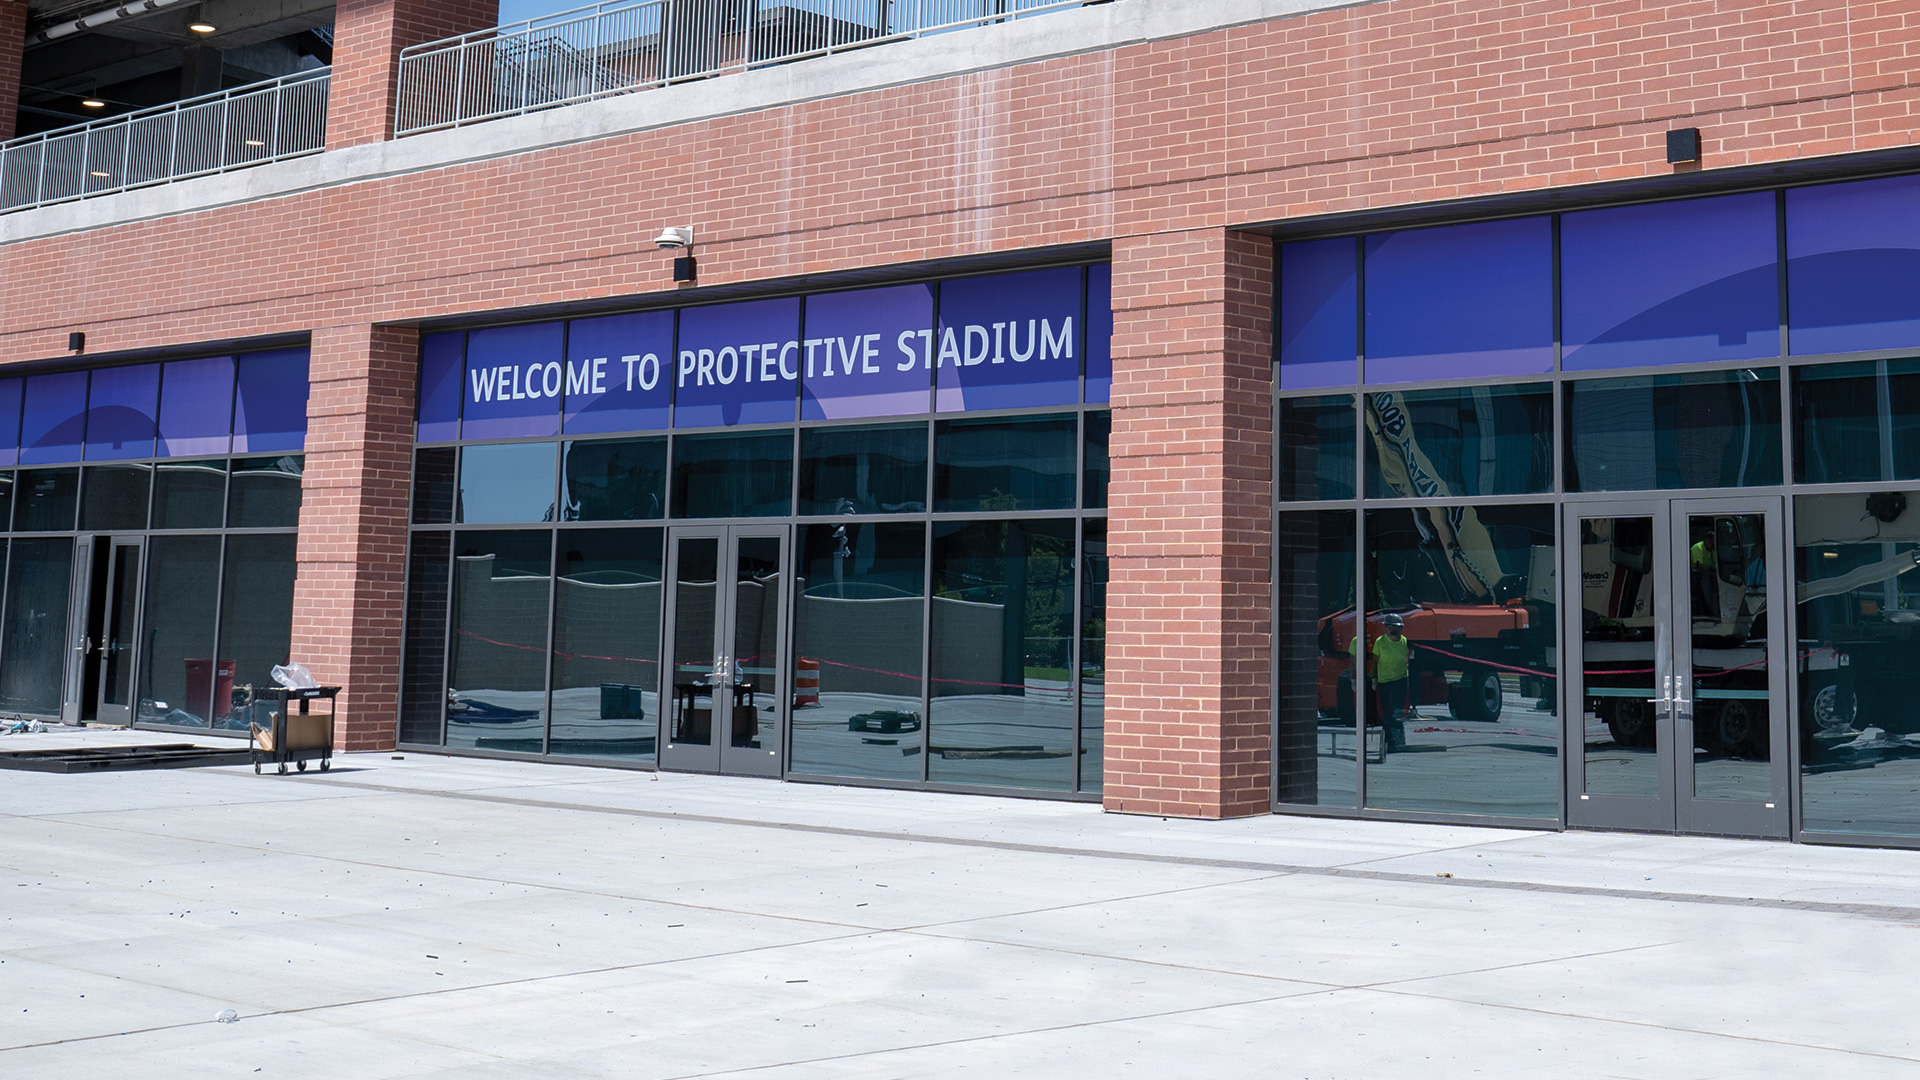
Window mullions are the vertical and horizontal trim that separate window panes. When designing prints to span multiple window the print needs to be split and leave a gap for each mullion. If the print is divided without minding the mullion gap the print will not flow from one window pane to the next.
When designing window graphics, it is important to take into account the size and placement of the mullions and how they will affect the overall design.

How to Measure Windows for Vinyl Decals
Step 1.
Measure the entire window space (width x height in inches to the nearest 1/100th), ignoring the individual panes and mullions. Ignore any silicone, rubber, or metal around the glass panes. Start at the leftmost glass and measure all the way across to the rightmost glass area you want to cover. Do the same from the bottom of the glass to the top. This will be the overall size of the vinyl window decal.
Step 2.
Measure each individual pane of glass and mullion (width x height in inches to the nearest 1/100th). Record the dimension of each pane of glass and mullion. When measuring the mullions include the silicone, rubber or trim layers around the window, basically anything that is not glass. These dimensions will be used to divide the vinyl graphic into individual prints that can be applied to each window.
Keep in mind construction is not always square, measure windows at a few points and use the largest dimension. This ensures all glass areas will be covered with no gaps, as prints can be trimmed slightly during installation to fit exactly.
If exact dimensions are not easy to come by. Professional site surveys are a helpful option we offer to provide dimension you can be confident in. An installer will measure and draw up a precise sketch of the requested space.
How to Communicate Dimensions for Window Vinyl Prints
We’re all visual people, so the easiest way to communicate is to send us a marked up photo or sketch. If that’s not convenient for you then we just need the dimensions listed out working left to right top to bottom, making sure to include the mullions. Like sizes can be grouped. If 1 row of windows is narrower or wider than the rest in that row listed it individually. It also helps to number the window panes.
Example of How to List Dimensions:
- Total Size = 101.5″w x 73″h
- Qty(4) Windows Top Row 1 & 2 = 24″w x 40″h each, 3 & 4 = 22.75″w x 40″h
- Qty(4) Windows Bottom Row 5 & 6 = 24″w x 30″h each, 7 & 8 = 22.75″w x 30″h
- Qty(3) Vertical Mullions Left & Right = 2″ wide, Center = 4″ wide
- Qty(1) Horizontal Mullion = 3″ high

How to Set Up Multi Panel Artwork for Windows
Start by setting the artboard to the overall size of the window. Most windows are large so scaling down to working at half size may be needed. Since you have detailed measurements of each window pane and mullion you can create an exact grid. Drop in guidelines to account for wherever mullions fall. The mullion space will be subtracted from the design. The example above shows how the window vinyl would look if the graphic was split into the number of window panes needed without accounting for the mullion area. As you can see nothing lines up.
When sending print ready artwork make sure to include the window pane and mullion information. Our team of designers will split the graphic into each print needed to fit each pane of glass leaving gaps for the mullions. No need to split the graphic yourself.
*Tip: its helpful to add a layer and fill in the mullion spaces so you can clearly see where the mullions fall over your design.
Design Art with Window Mullions in Mind
The mullion spacing and window pane sizes will affect the overall design. By being mindful of the mullions they can work with your design instead of against it. When imagery flows continuously it looks like one print set behind the mullions. By subtracting the mullions from the design the mullions almost disappear as the viewers eye fills in the space. Keep the following tips in mind to create a graphic is fluid no matter how many mullions try to get in the way.

Location, Location, Location
Move or scale imagery so important elements, especially faces aren’t disrupted by mullions. If a seam has to fall over a face vertically, try to split in a way both eyes are fully visible. If there are breaks in the design, such as multiple photos, use the mullions as natural grid to align the images.

Font Size & Spacing
Don’t add space between letters to go around a mullion as this disrupts the word. In the example space has been added making the word “Higher” read “Hig” “Her”. The brain in great at filling in missing letter space, but notices unnatural space. If you have to choose cropping the top or bottom of letters, crop the bottom. Amazingly, people can still read text when as little as 50% of the top is visible.
Design text size large enough that no letter is completely lost in a mullions. Some of the letter should be visible on both sides to connect the letter shape in the viewers mind. When designing with small text, break lines to keep text contained to one window pane. Otherwise complete words could be lost in the mullion space making the text illegible.
Creating window vinyl graphics that span multiple window panes can be a challenge. But, with these steps and tips, you’ll have an awesome looking project in no time! The most important step is to make sure your design includes mullions or other breaks in the window pane pattern as part of the overall layout. If you’re not sure where to start when it comes to designing these types of projects on your own, contact us today! Our team offers free consultations, we want to help you create something amazing that really stands out.
Looking for Installation Help?
We offer site survey and installation services nationwide to ensure graphics are displayed with quality and care at any location.
Click the link below to request a quote.
Looking for Installation Help?
We offer site survey and installation services nationwide to ensure graphics are displayed with quality and care at any location.
Click the link below to request a quote.
View Similar Blogs
[jr_instagram id=”1″]
View Similar Blogs
[jr_instagram id=”1″]